This is going to be a write up on the FrankenBug design and basic information on building one. This is very much an on going write up and information will be added as I get time or remember something of importance.
You will need to source -
the files here for printing - FrankenBug
- 8, square carbon fiber tubes, 5mm x 145mm (slightly smaller or larger should be fine) and generally can be found on Ebay and other retailers of these types of products.
- 16 small screws (M2- 5 to 8mm long or some pointed style will work)
- Anti Vibration balls/balloons made for gimbals to hang the battery/can mount
- Zip ties

You will also be better off if you have the ability to print flexible filaments for the leg mounts, though it's not 100% needed, it makes for a better and easier fit and build as well as adds some shock absorption to landings.

Printing-
All Parts should be printed in HT-PLA and annealed or PETG or ABS with the exception of the leg mounts and feet which are better off in TPU/TPEE or other flexible material.
Need to print, 1 body, 4 motor mounts, 4 Leg mounts (TPU/Flexible preferred), 4 legfoot, (TPU/Flexible preferred), 4 legs, as well as one Battery/cam mount. Optional - TPU Cam Pad which just helps keep the camera from sliding around easily.
* Removing supports from the inside of the arm holes in the main body can be a real PAIN so I HIGHLY recommend using Ideamaker, (or S3D if you own it) for a slicer and adding just one line of supports down the middle.
Building -
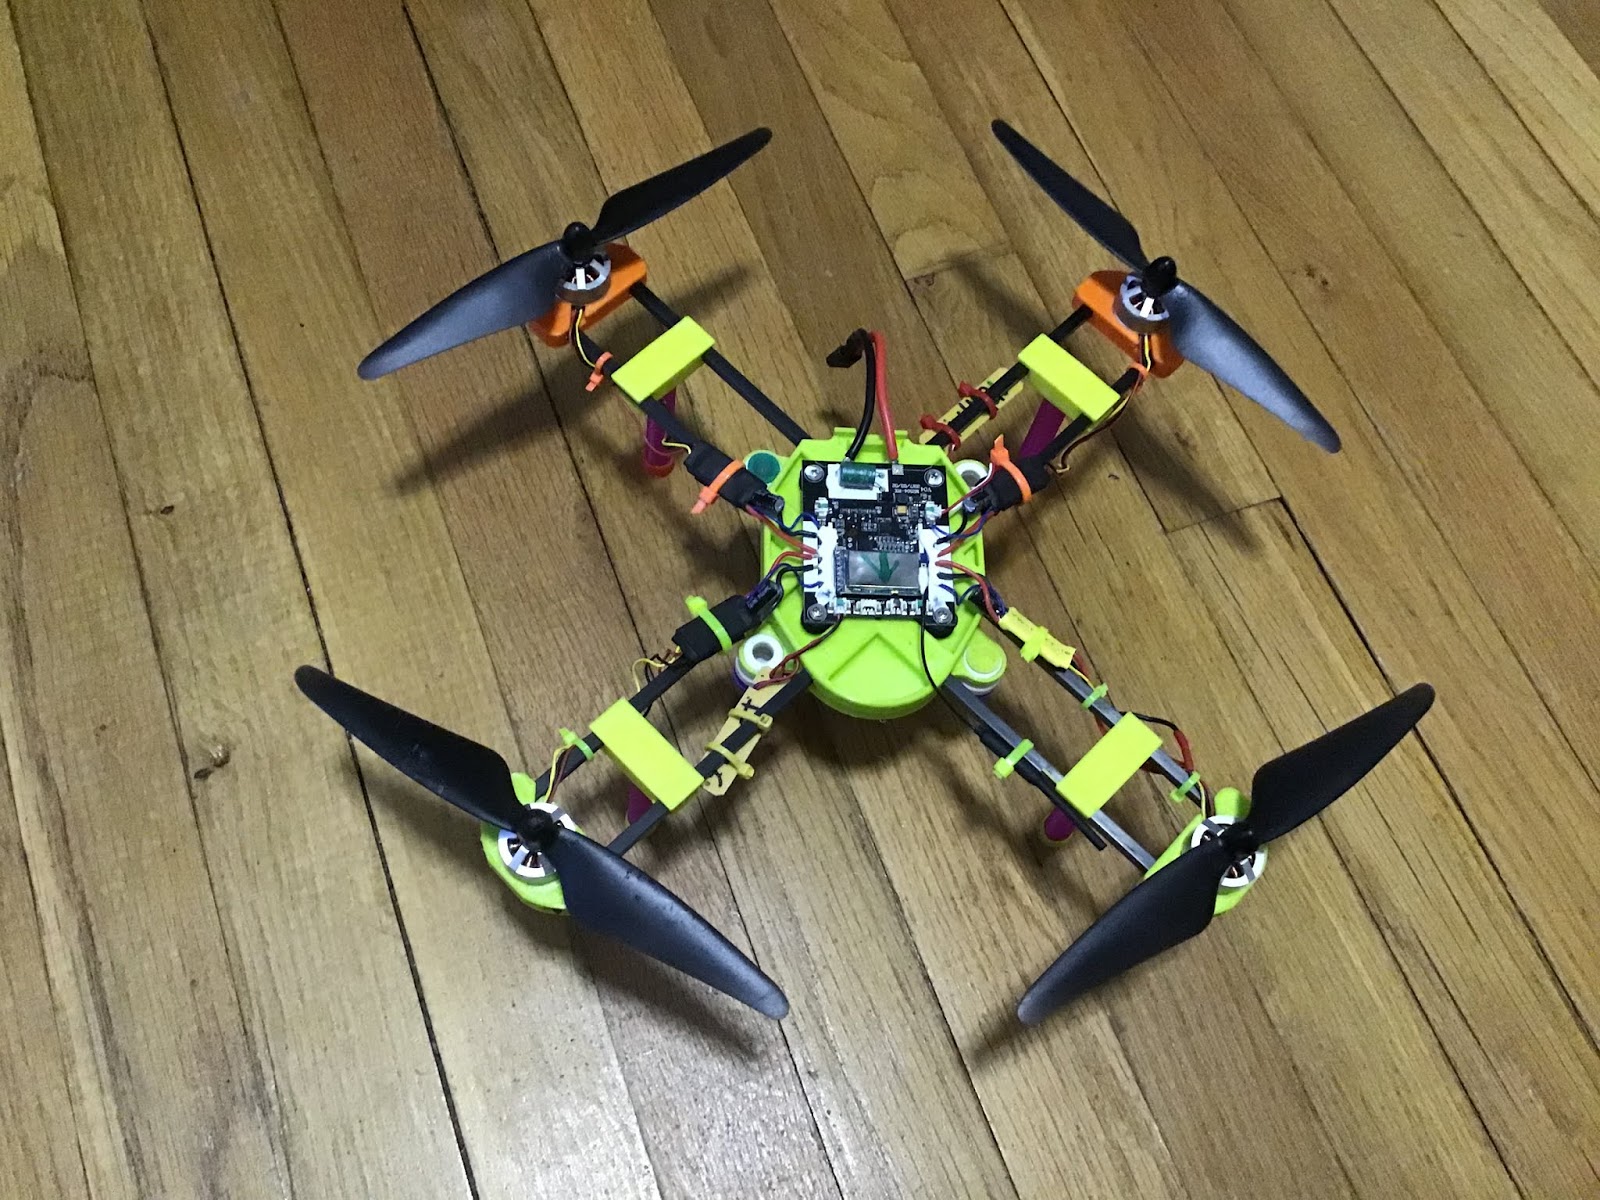
Basically you just slip the parts together, slap the bugs electronics on top and you're good to go.
More details though coming ;)